
Chocolate Chip Buttermilk Scones

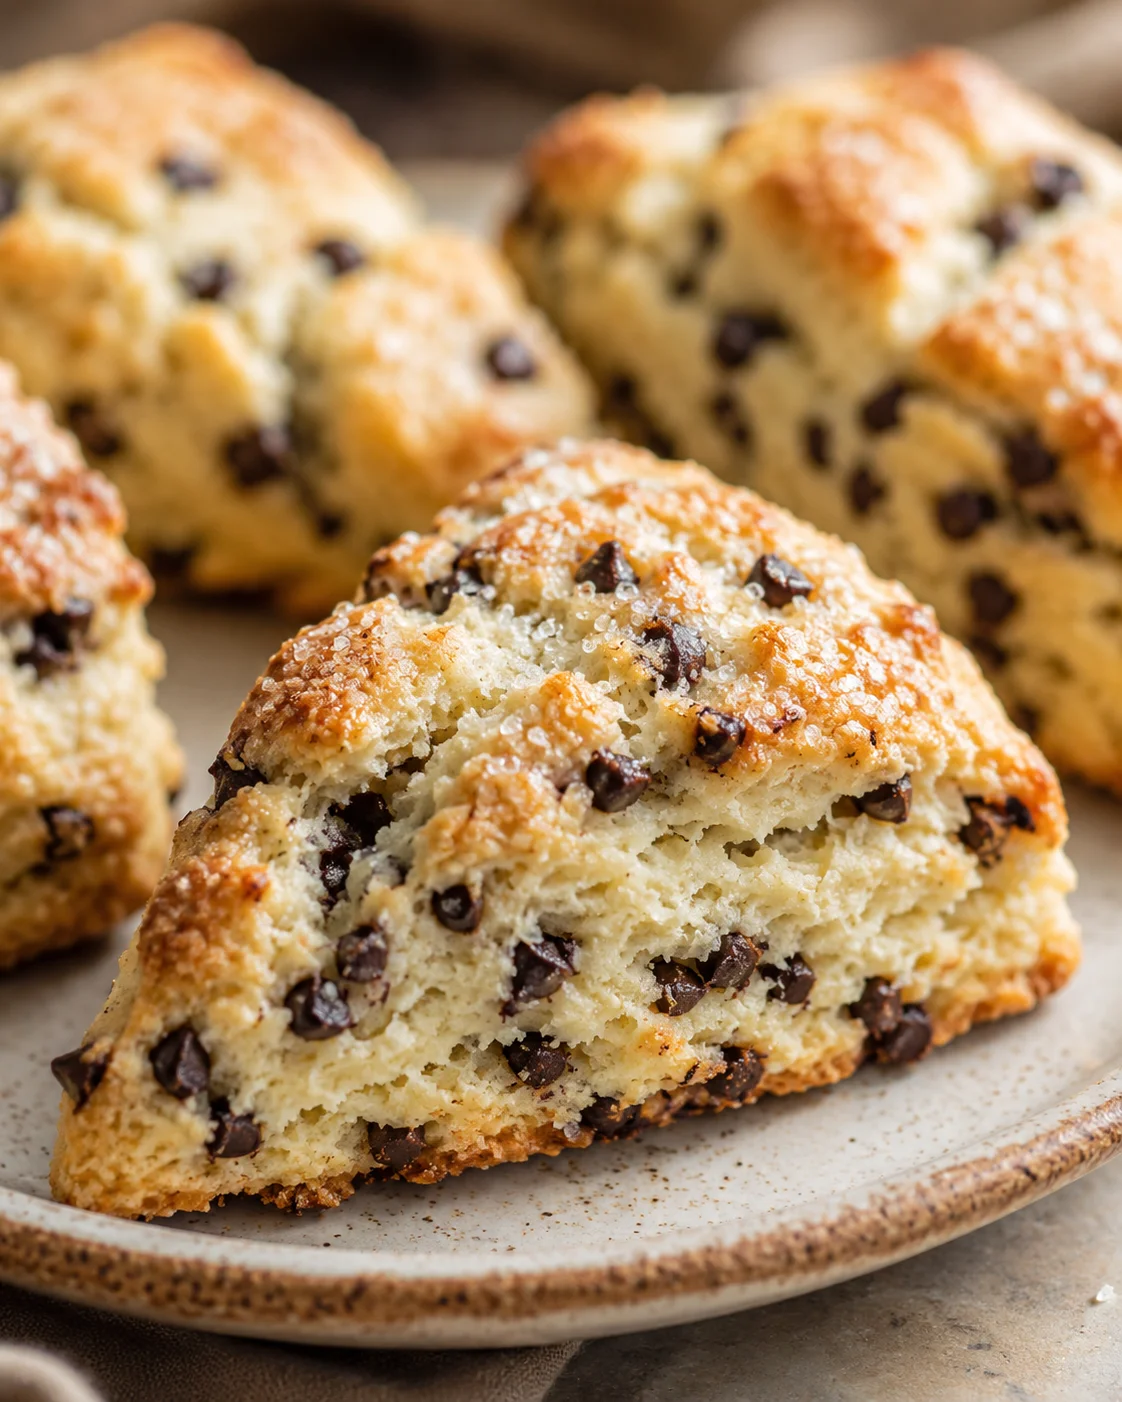
I’ve spent countless hours in my kitchen perfecting the fluffy, tall, bakery-style chocolate chip scones recipe just for you. No need to stress or experiment—just follow my trusted recipe and insider tips to bake these irresistible treats right at home.
Making scones from scratch can feel tricky if you don’t know the right techniques—they often turn out dry, flat, or weirdly textured. But you can relax because I’ve already done the hard work of testing and tweaking so your chocolate chip scones come out perfect every time.
The magic lies in using the right ingredients, folding the dough (aka laminating), and chilling or freezing it before baking. This recipe strikes the perfect balance for tall, tender, and flaky scones that rival any bakery’s.
These scones are amazing. I’ve made many, but these are hands down the best—so simple and so delicious.
If you’ve ever wrestled with dry, flat, or dense scones, you’re about to discover the secret to bakery-style buttermilk chocolate chip scones right at home. I’ve put this recipe through the wringer to make sure you get tall, fluffy scones every time, and I’ll guide you through every step of the way.
Here’s what you can expect from this post:
- A straightforward ingredient list with exact measurements to make 8 scones
- Step-by-step photos and clear instructions to walk you through dough prep
- Insider tips like keeping butter cold, folding dough for flaky layers, and freezing wedges before baking
- Helpful pro tips, substitution ideas—including gluten-free options—and troubleshooting fixes for common hiccups
Even if you’re new to baking, these chocolate chip scones are totally doable. Set aside about an hour, which includes chilling or freezing time, and you’ll end up with tender, tall scones perfect for breakfast or a delightful afternoon snack. Ready to bake scones you’ll love and want to make again? Let’s dive in!
Why These Turn Out Bakery-Style
This recipe nails that bakery-quality chocolate chip scone without fuss or fancy techniques. The scones come out tall, flaky, and bursting with melty chocolate, thanks to simple steps designed to avoid all those typical baking mishaps like flat or dry results.
- Tall & flaky: Folding the dough (lamination) plus cold butter and a quick chill create those gorgeous layers and lift you see in bakery scones.
- Soft, tender crumb: Buttermilk adds a slight tang and keeps the inside moist and fluffy. You can swap in cream for a richer scone—see our Orange Cream Scones for that style.
- Quick hands-on time: You’ll only spend about 10 minutes prepping; most of the time is hands-off chilling and baking.
- Simple ingredients: Flour, butter, sugar, baking powder, buttermilk (or cream), egg, vanilla, and chocolate chips—no exotic pantry items needed.
- Reliable results: The exact ingredient ratios and freezing step ensure your scones rise perfectly every time.
- Flexible recipe: Works beautifully with regular or gluten-free flour, and chocolate chips can be swapped for berries—try these Strawberry Cream Cheese Scones—or a citrus glaze for a twist.
- Make-ahead friendly: Chilling and brief freezing preserve the shape and texture, making it easy to prep dough in advance for busy mornings.
- Family favorite: These warm up wonderfully (just a quick zap in the microwave melts the chocolate), and keep well in an airtight container for up to 3 days—great for breakfasts or snacks.
If you’re craving bakery-style chocolate chip scones without the guesswork, this recipe gives you everything you need to succeed straight from your home kitchen.
Ingredients and Quantities
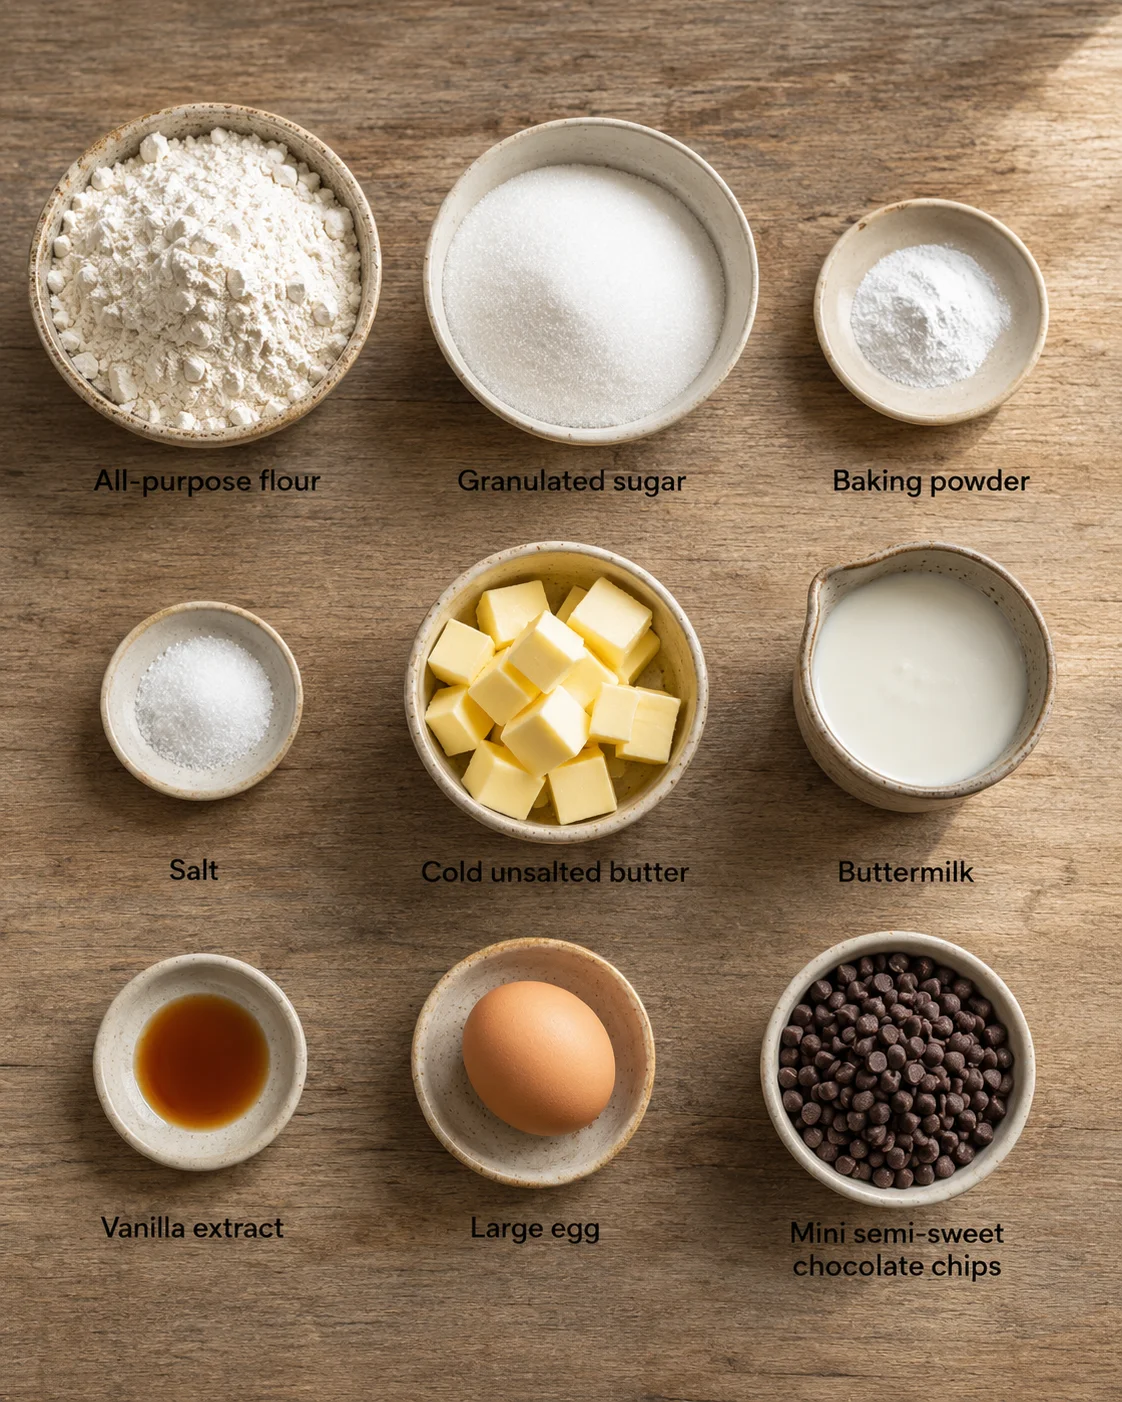
- 2 ¼ cups (270g) all purpose flour
- ½ cup (99g) granulated sugar
- 1 Tbsp baking powder
- ½ tsp salt
- ½ cup (113g) cold unsalted butter, cubed
- ½ cup (118ml) buttermilk
- 1 tsp vanilla extract
- 1 large egg
- 1 cup (170g) mini semi-sweet chocolate chips, or regular size chips!
Mix, Fold, Shape, and Bake
- Whisk together flour, granulated sugar, baking powder, and salt in a large bowl.
- Add cold cubed unsalted butter and cut or pinch into the dry ingredients until pea-sized bits remain.
- Make a well in the flour mixture and pour in buttermilk, vanilla, and egg; stir gently with a spatula until a thick, sticky dough forms.
- Fold in the chocolate chips until evenly distributed.
- Turn the dough out onto a clean surface or silicone mat and knead gently until all flour is incorporated, adding 1–2 tablespoons flour if too sticky.
-
Fold the dough in half, press lightly, rotate 90 degrees, and repeat the fold-and-turn sequence 4–5 times to laminate.
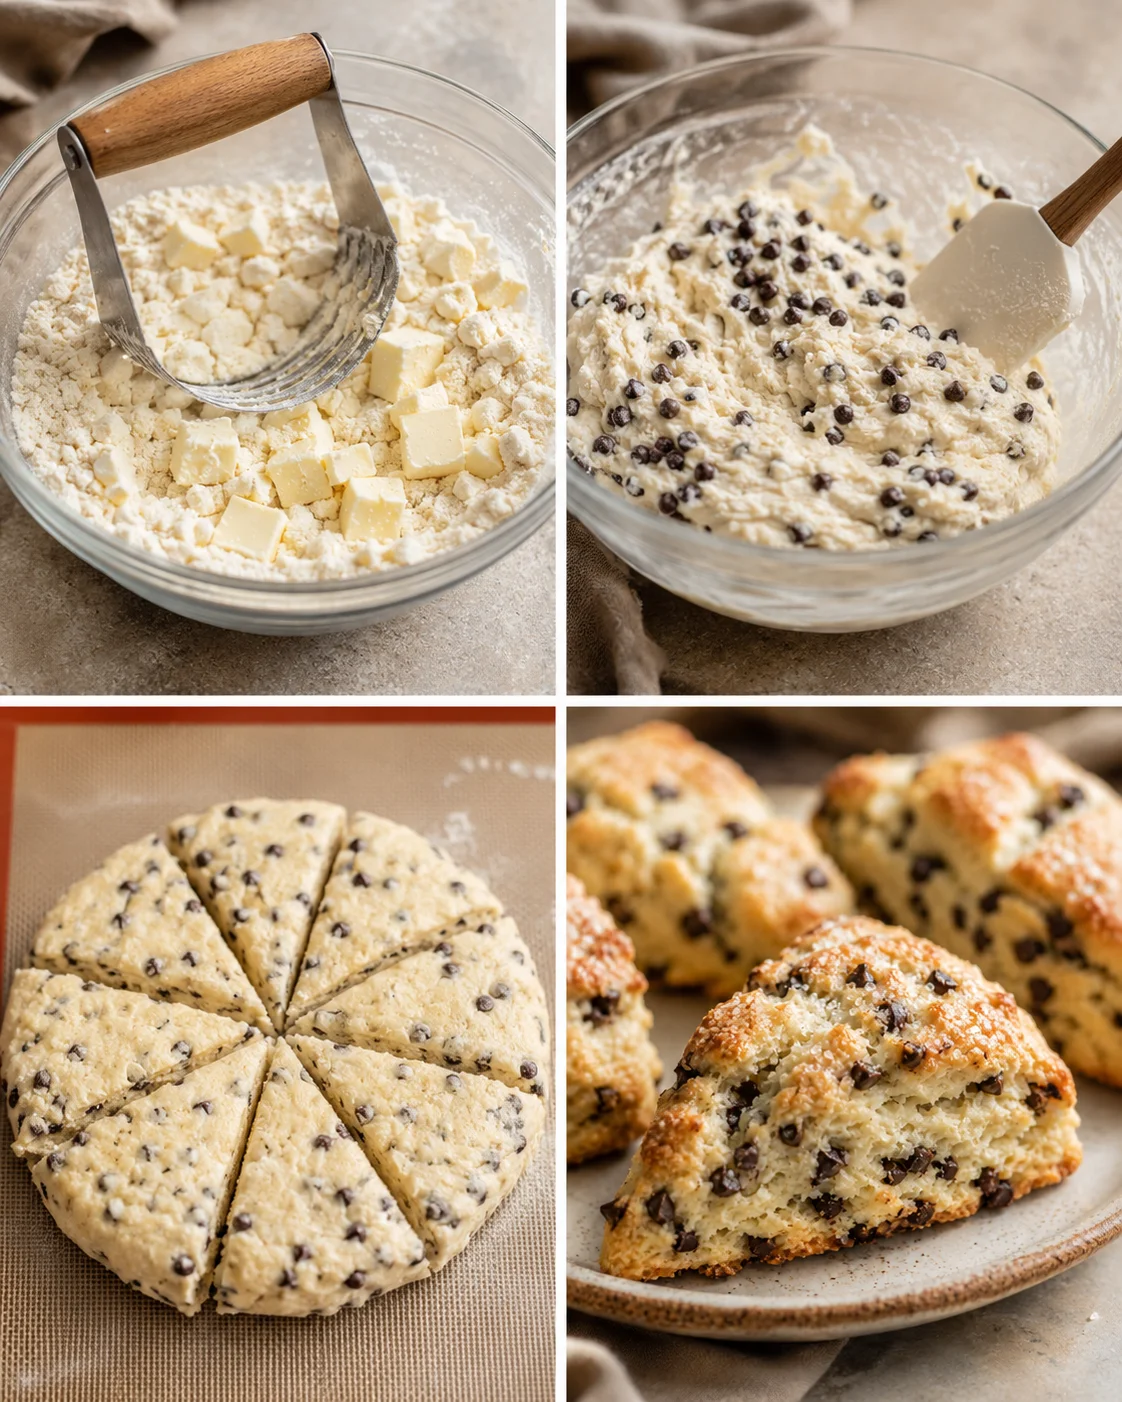
- Shape the dough into an 8–10 inch disc about 1.5–2 inches thick and chill in the refrigerator for 5–10 minutes.
- Cut the chilled disc into 8 equal wedges with a sharp knife or pizza cutter.
- Place the wedges 2–3 inches apart on a parchment-lined or silicone-lined baking sheet.
- Freeze the arranged wedges for 30 minutes, and during the last 5 minutes preheat the oven to 400°F (204°C).
- Brush the tops with egg wash (1 egg beaten with 1 Tbsp water), buttermilk, or heavy cream and sprinkle with coarse sanding sugar if desired.
- Bake the scones for 20–26 minutes until golden and puffed, then let cool slightly before serving.
Pro Tips for Flaky, Tender Scones
The real trick to flaky, tender scones is keeping the butter and dough cold. Your hands warm up dough quickly while mixing, so freezing the scones for 30 minutes before baking is an essential step.
Freezing helps the scones maintain their shape, prevents them from spreading too much, and gives you that flaky texture by keeping the butter firm. You’ll use the same chill-first method in our Spiced Pear Scones with a Vanilla Glaze.
When these cold butter chunks hit the hot oven, they release steam that creates those flaky layers inside. Because scones are delicate, freezing the dough solidifies the butter and stops it from melting too fast, which keeps your scones tall and nicely textured.
When to Chill the Dough? After shaping the dough into wedges, place them spaced out on a baking sheet and freeze. Adding coarse sugar, egg wash, or cream wash comes just before baking. These timing cues also apply to our Irish Cream Scones if you want a cozy twist.
Your dough wedges may look small at first, but don’t worry—they puff up beautifully in the oven thanks to a healthy dose of baking powder
- Always use cold butter and cut it in quickly with your fingers or a pastry cutter
- Handle the dough gently—over-mixing makes scones tough and dense
- Use a ruler to make sure your disc is about 7-8 inches for even baking
- Freeze the scones for at least 30 minutes before baking to lock in height and texture
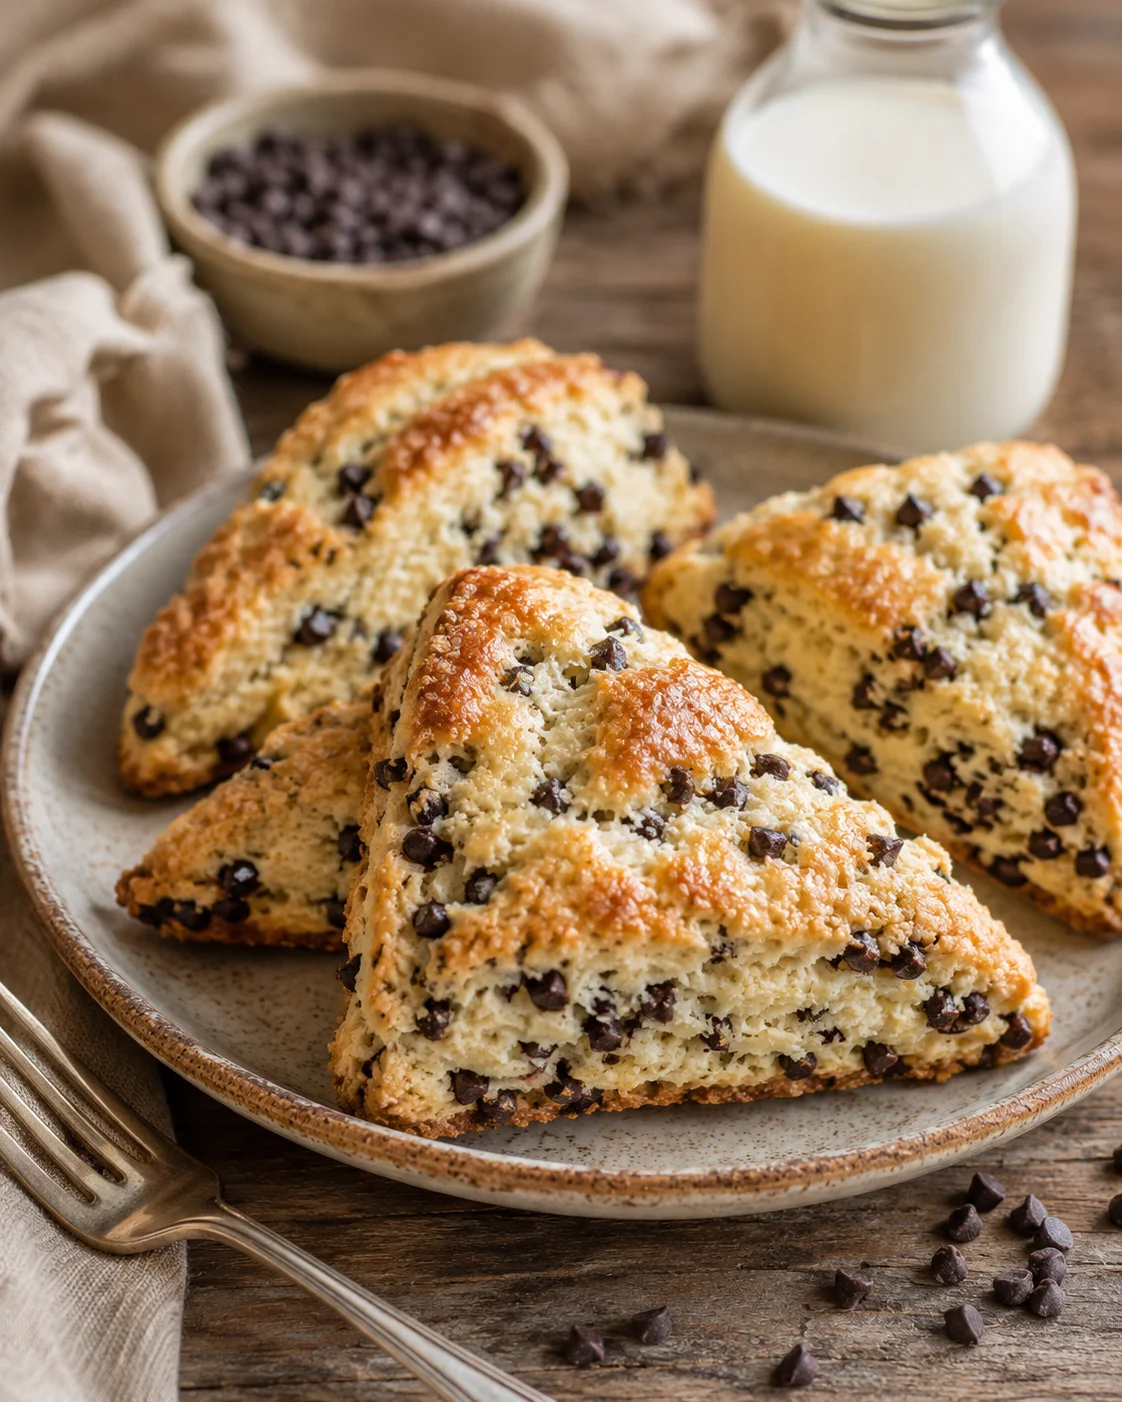
Bakery-style tall, fluffy, and flaky chocolate chip scones made with buttermilk for a tender crumb, perfect for breakfast or snacks. This recipe includes lamination technique and freezing for perfect rise and texture.
- Prep Time: 10 minutes
- Cook Time: 25 minutes
- Total Time: 65 minutes
- Yield: 8 scones 1x
- Category: Breakfast
Ingredients
- 2 ¼ cups (270g) all purpose flour
- ½ cup (99g) granulated sugar
- 1 Tbsp baking powder
- ½ tsp salt
- ½ cup (113g) cold unsalted butter, cubed
- ½ cup (118ml) buttermilk
- 1 tsp vanilla extract
- 1 large egg
- 1 cup (170g) mini semi-sweet chocolate chips (or regular size chips)
Instructions
- Whisk together flour, granulated sugar, baking powder, and salt in a large bowl.
- Add cold cubed unsalted butter and cut or pinch into dry ingredients until pea-sized bits remain.
- Make a well in the flour mixture; pour in buttermilk, vanilla, and egg. Stir gently with a spatula until thick, sticky dough forms.
- Fold in chocolate chips until evenly distributed.
- Turn dough out onto a clean surface or silicone mat and knead gently to incorporate all flour; add 1–2 tablespoons flour if too sticky. Avoid overworking.
- Fold dough in half, press lightly, rotate 90 degrees, and repeat fold-and-turn 4–5 times (lamination) to create flaky layers.
- Shape dough into 8–10 inch disc about 1.5–2 inches thick; chill in refrigerator for 5–10 minutes.
- Cut chilled disc into 8 equal wedges with a sharp knife or pizza cutter.
- Place wedges 2–3 inches apart on parchment- or silicone-lined baking sheet.
- Freeze wedges for 30 minutes; preheat oven to 400°F (204°C) during last 5 minutes of freezing.
- Brush tops with egg wash (1 egg beaten with 1 Tbsp water), buttermilk, or heavy cream. Sprinkle with coarse sanding sugar if desired.
- Bake for 20–26 minutes until golden and puffed. Let cool slightly before serving.
Notes
If you don’t have buttermilk, you can substitute with heavy cream for a richer texture. Avoid using regular milk as it doesn’t provide the same tender crumb., This recipe works well with either all-purpose or gluten-free flour, yielding great results each time.
Nutrition
- Serving Size: 1 scone
- Calories: 470 kcal
- Fat: 24 g
- Carbohydrates: 56 g
- Protein: 7 g
More in Desserts


Marry Me Shrimp

Creamy Garlic Butter Salmon & Shrimp
