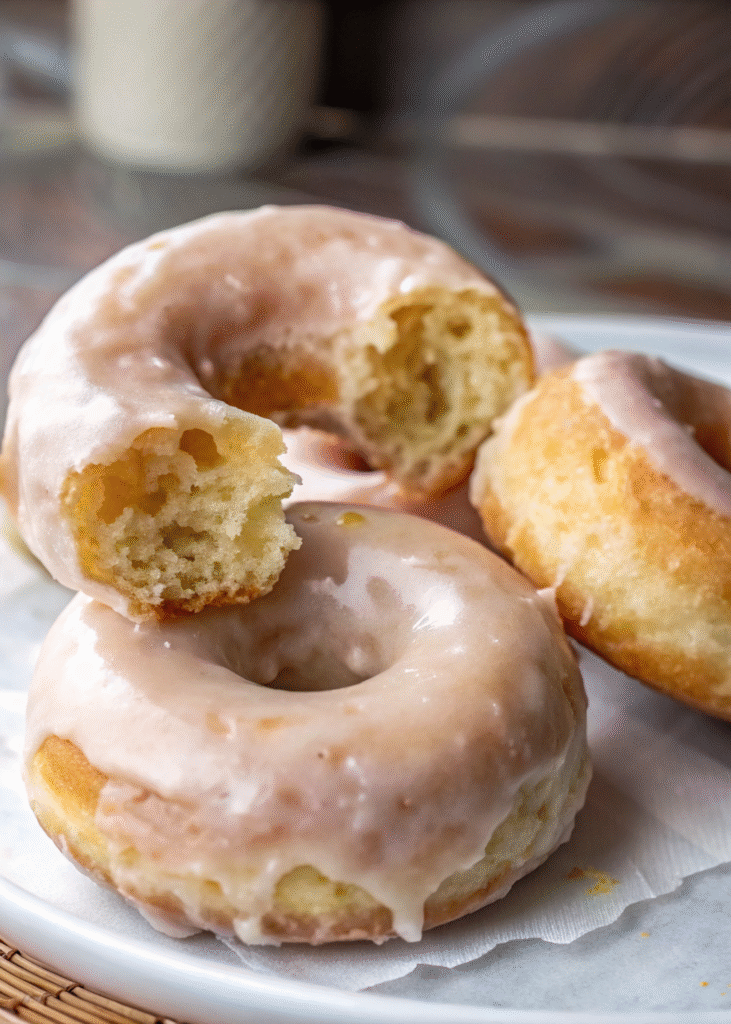
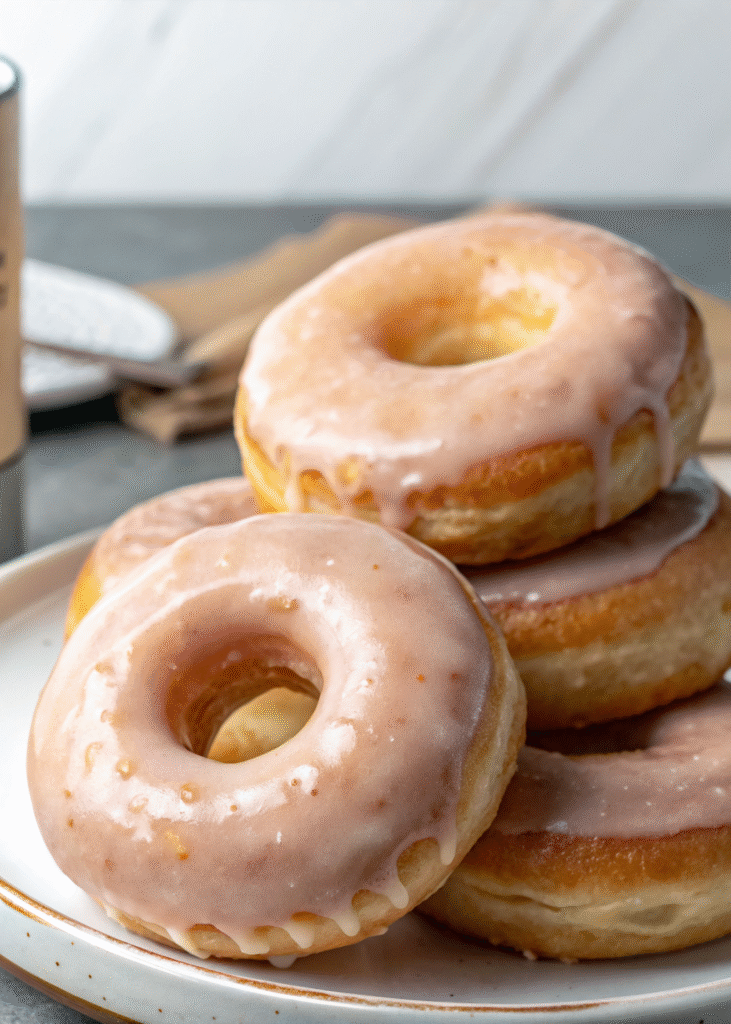
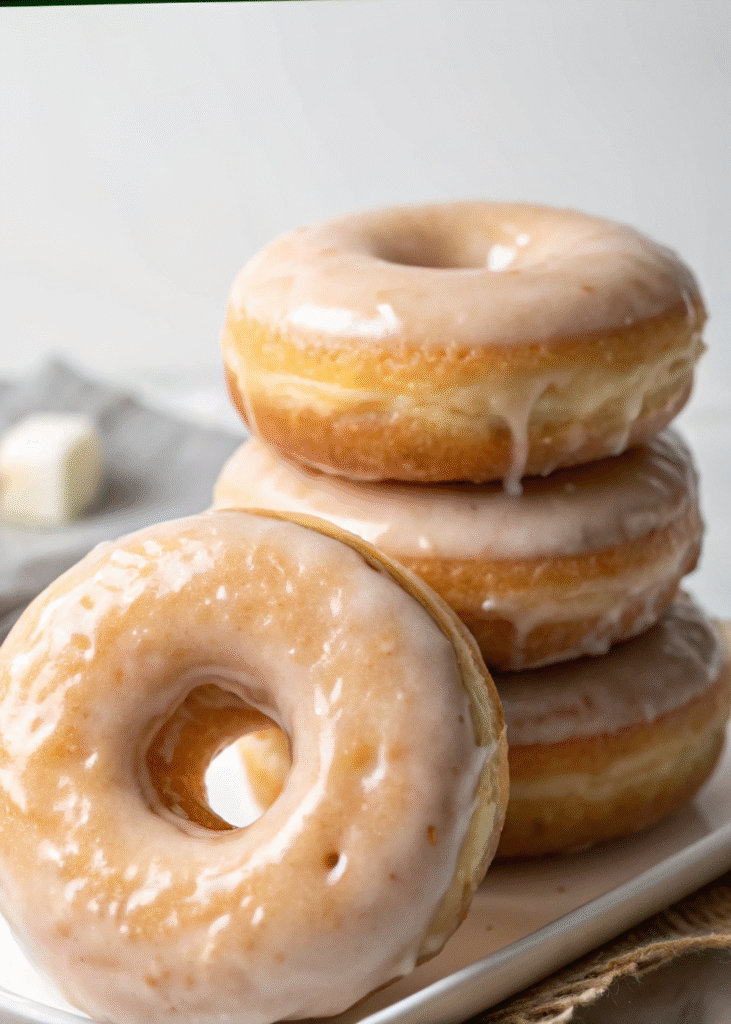
Glazed Donuts
Glazed donuts are those soft, pillowy rings of fried dough that get coated with a glossy, sweet sugar glaze. They’re a favorite treat for so many because they smell heavenly, look cheerful, and taste like a little bite of happiness. When you take a bite, the donut feels light and fluffy, with that smooth glaze melting beautifully on your tongue. Lots of bakeries bake them fresh every morning because they’re the perfect pick-me-up for breakfast or an anytime snack.
Making glazed donuts at home might sound like a big project, but honestly, it’s easier than you think when you follow each step. You just mix the dough, let it rise, cut out the donut shapes, fry them golden, and then dip each one into a warm, sweet glaze. The glaze sets into a shiny candy shell that’s irresistible. Sure, this recipe takes a bit of time, but most of that is hands-off waiting. That means you can sit back, relax, or catch your favorite show while the dough rises and transforms into magic!
Why You Should Make Glazed Donuts at Home
If you’ve never made homemade glazed donuts, you’re in for a treat! They’re fresher, way softer, and more delicious than anything you grab from a box or store. Plus, you get to decide exactly how sweet they are, the size that you want, and even customize the glaze flavor to your liking. Don’t worry if you’re new to baking—this recipe is straightforward enough for beginners and great fun to make with kids (just be sure to keep an eye on the frying part).
One of the best parts? Decorating is your chance to get creative! You can dunk your donuts in chocolate, add colorful sprinkles, drizzle with icing, or even play around with rainbow glazes. They’re perfect for birthday parties, sleepovers, or making family weekends extra special. Once you master this classic glaze, you can experiment with cinnamon sugar, chocolate-covered donuts, or fruity versions that everyone will love.
Ingredients for Glazed Donuts
Here’s what you need to whip up these lovely glazed donuts:
- 2 1/4 teaspoons active dry yeast
- 1 cup warm milk
- 1/4 cup sugar
- 1 egg
- 1/4 cup melted butter
- 3 – 3 ½ cups flour
- 1/2 teaspoon salt
- Oil for frying
For the glaze:
- 2 cups powdered sugar
- 1/4 cup milk
- 1 teaspoon vanilla extract
How to Make Glazed Donuts
Step One
Start by waking up the yeast in a big bowl. Stir the warm milk, sugar, and yeast together. Then let it sit for a few minutes until it gets bubbly and a bit foamy. That’s the yeast saying, “I’m ready!” and it means your donuts will turn out nice and fluffy.
Step Two
Next, it’s time to make your dough. Add the egg, melted butter, salt, and just some of the flour into the yeast mix. Stir it up until it starts to pull together like dough, then gradually add more flour little by little. You want the dough to be soft and a tiny bit sticky but not too stiff. It’s okay if it feels a bit tacky at first—that’s totally normal for donut dough.
Step Three
Now for some muscle time! Knead the dough gently for about 5 minutes, pressing and folding it until it feels smooth and elastic. Then pop it into a bowl, cover it with a clean towel or plastic wrap, and let it sit for about an hour. You’ll know it’s ready when it doubles in size. This rise is what makes your donuts light, soft, and airy instead of dense.
Step Four
Time to shape your donuts! Roll out the dough to about half an inch thickness. Use a donut cutter or a round glass to cut out the big circles, and a smaller cutter (or bottle cap!) for the holes in the middle. Lay them out on a tray and let them relax for another 20 minutes until the surface gets a little taut. Then heat your oil in a deep pan until it’s sizzling hot but not smoking. Carefully fry your donuts, turning them so they get a gorgeous golden color all around. Using tongs or a slotted spoon helps to flip and drain them safely.
Step Five
While your donuts cool just a bit, make your glaze by whisking powdered sugar, milk, and vanilla extract in a bowl. It should be thick enough to coat but still runny enough to dip your donuts into easily.
Step Six
This is the fun part: dipping and glazing! Dunk each warm donut into your glaze, letting the extra drip off. Then transfer them to a wire rack to set—the glaze will dry into a shiny, sweet shell that makes your donuts look as amazing as they taste.
Kitchen Equipment Needed :
Here’s what you’ll want on hand to get started:
- Measuring cups
- Mixing bowls
- Whisk or spoon
- Rolling pin
- Donut cutters (or cups)
- Frying pot
- Tongs or slotted spoon
- Baking tray
- Cooling rack
- Paper towels
Tips for Making the Best Glazed Donuts
Use warm milk—not hot! That keeps your yeast alive and kicking.
Be patient with the rise. This waiting is the secret to soft, light donuts every time.
Dip your donuts while they’re warm so the glaze really sticks and sets perfectly.
Sprinkle those colorful toppings right after glazing before the glaze hardens, or they won’t stick well.
Serving Suggestion
I love pairing these glazed donuts with a warm cup of tea or coffee—my husband swears by the coffee, while my kids adore them with hot chocolate. They’re just as delicious with fresh lemonade or fruit juice if you’re enjoying them as a midday treat. No matter what, they always bring a little joy to the table!
Frequently Asked Question
Do I have to fry the donuts ?
Frying gives you that classic soft, airy texture and golden crust, but if you want a lighter option, you can bake them instead. Just keep in mind the texture will be a bit different—more like a cake donut.
Can I freeze glazed donuts ?
Absolutely! Freeze the donuts without the glaze, then thaw them when you’re ready to enjoy and add the glaze fresh. This keeps them tasting like they just came out of the fryer.
Can I decorate donuts with sprinkles ?
Yes, definitely! Just sprinkle your favorite colors and shapes onto the donuts while the glaze is still wet so they stick nicely.
Why does my dough stick to the counter ?
If your dough sticks when you roll it out, it probably needs a bit more flour. Sprinkle a little extra flour on your work surface and rolling pin to keep the dough from sticking without drying it out.
Storage Tips
Keep your glazed donuts fresh by storing them in an airtight container at room temperature for up to two days. If you want to save them longer, wrap them well and freeze for up to a month. Just be sure to add the glaze after thawing for the best shine and flavor.
Make-Ahead Tips
You can make the dough a day ahead! After kneading, cover it tightly and refrigerate overnight. When you’re ready, let it come to room temperature, then continue with shaping, frying, and glazing. This makes your morning donut-making super smooth.
Variations
- Try a cinnamon sugar coating instead of glaze for a cozy twist.
- Use chocolate glaze by swapping vanilla in the glaze for cocoa powder.
- Add orange zest to the dough or glaze for a bright citrus touch.
- Mix in some mashed berries or jam for fruity-filled donuts.
A homemade recipe for soft, pillowy glazed donuts with a sweet vanilla glaze, perfect for breakfast or snacks.
- Prep Time: 15 minutes (plus 1 hour rising and 20 minutes resting)
- Cook Time: 15 minutes frying
- Total Time: 1 hour 50 minutes
- Yield: 12-15 donuts 1x
- Category: Breakfast
- Cuisine: American
Ingredients
- 2 1/4 teaspoons active dry yeast
- 1 cup warm milk
- 1/4 cup sugar
- 1 egg
- 1/4 cup melted butter
- 3 to 3 1/2 cups all-purpose flour
- 1/2 teaspoon salt
- Oil for frying (vegetable, canola, or peanut oil recommended)
Instructions
- In a large bowl, combine warm milk, sugar, and active dry yeast. Let sit for a few minutes until bubbly and foamy.
- Add egg, melted butter, salt, and 3 cups of flour to the yeast mixture. Stir to form a dough, then gradually add additional flour (up to 3 1/2 cups) until the dough is soft and slightly sticky.
- Knead the dough gently for about 5 minutes until smooth and elastic.
- Place the dough in a bowl, cover with a towel or plastic wrap, and let rise for about 1 hour, or until doubled in size.
- Roll out the risen dough to 1/2 inch thickness. Use a donut cutter or large round cutter to cut out donut shapes, and a smaller cutter or bottle cap to cut out donut holes.
- Place cut donuts on a tray, cover and let rest for 20 minutes until the surface is slightly taut.
- Heat oil in a deep pan to approximately 350°F (175°C). Fry donuts carefully, turning to achieve a golden brown color all over. Remove with tongs or slotted spoon and drain on paper towels.
- While donuts cool slightly, prepare the glaze by whisking together 2 cups powdered sugar, 1/4 cup milk, and 1 teaspoon vanilla extract until smooth and runny yet thick enough to coat.
- Dip each warm donut into the glaze, allowing excess to drip off. Place glazed donuts on a wire rack to let the glaze set into a shiny shell.
Notes
Use warm milk, not hot, to keep the yeast active., Be patient with the dough rise for soft and airy donuts., Dip donuts while warm to ensure the glaze sticks well., Add sprinkles immediately after glazing before it hardens to ensure they stick., For a twist, try cinnamon sugar coating or chocolate glaze by substituting vanilla with cocoa powder., Donuts can be baked instead of fried for a cake-like texture., Freeze donuts without glaze and add glaze fresh after thawing., Store glazed donuts at room temperature in an airtight container for up to two days; avoid refrigeration., Dough can be made a day ahead and refrigerated; bring to room temperature before shaping.
Nutrition
- Serving Size: 1 donut
- Calories: Approx. 250-300 calories per donut
- Fat: Approx. 12 g per serving
- Carbohydrates: Approx. 35 g per serving
- Protein: Approx. 4 g per serving
More in Pies & Tarts
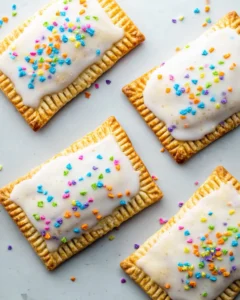
Homemade Blueberry Poptarts
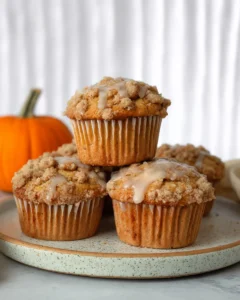
Pumpkin Crumb Cake Muffins
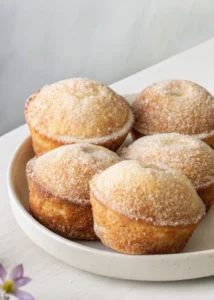
Cinnamon Muffins